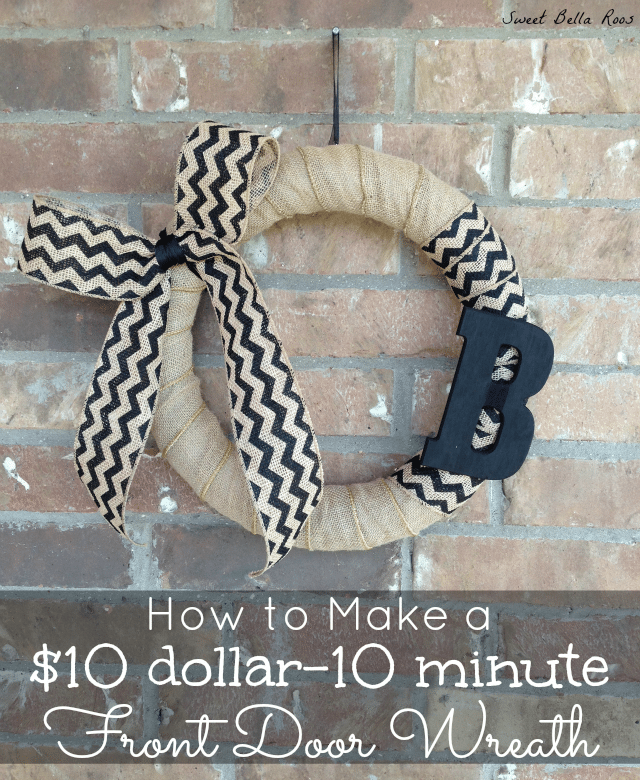
How to Make a $10 Dollar 10 Minute Wreath
It’s been about a month since we moved and I’m still unpacking, busy trying to make our new house a home on my new stay-at-home budget. One thing I love about this neighborhood is the “curb appeal”, every house on the block has a freshly manicured lawn and bright flowers. (Maybe I should thank the HOA laws?) Either way, our porch was looking a little sad!
I hit up Hobby Lobby for some inspiration on ways to liven up our entry way. Hobby Lobby is a lot like going to Target = terrible when on a budget. Not because the prices are outrageous, but because I want everything in the store. With my 40% off coupon in hand, I did a pretty good job resisting all the pretties. Here’s what I bought (and what you will need to make this wreath):
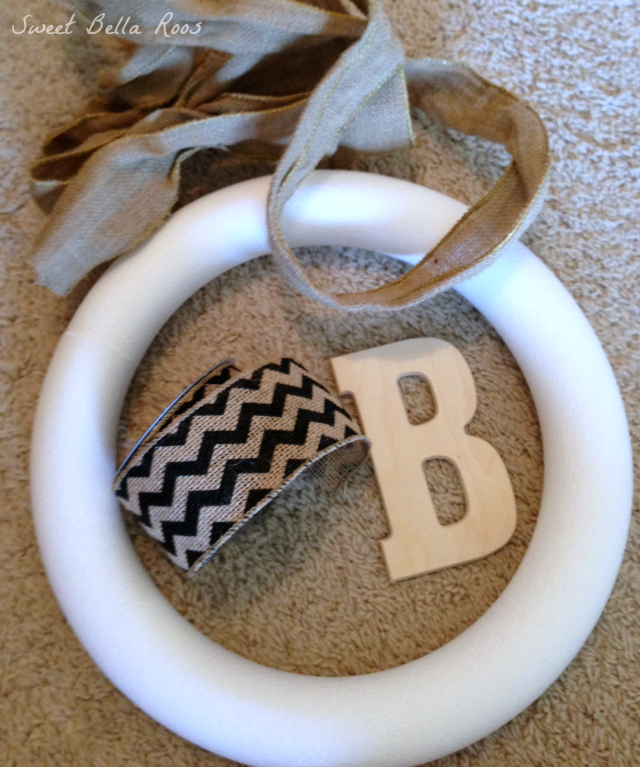
1 roll of burlap ribbon $2.99 (on sale, reg. $4.99)
5″ wooden letter $1.49
Black acrylic paint $.54 (on sale, reg. $.77)
12″ styrofoam extruded wreath $4.99
Even if you didn’t get those two items on sale, you could use your 40% off coupon on the ribbon or wreath and still come in right around $10. Watch the sales though, if it’s not on sale this week I can almost guarantee it will be next week.
Originally I planned to do the chevron ribbon all the way around, but I didn’t *love* the way that looked, so I used some burlap ribbon I had been saving from a bow on a present I received.
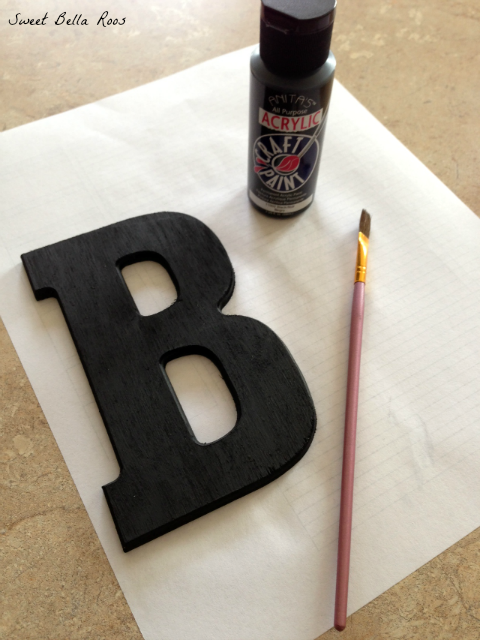
To get started, paint the wooden letter in your desired color. While it’s drying, wrap the ribbon around the wreath, overlapping the edges just a bit. After it is completely wrapped you can use a hot glue gun to adhere the ribbon’s tail to the wreath. Try to make it where it meets in the back so you don’t see the seam. Now, unfortunately, I have not been able to locate my hot glue gun since the move (tragic, I know!) so I used a safety pin to hold mine closed. Hot glue would obviously be a more permanent solution.
Your letter should be dry by now (I painted the back of my letter, you don’t have to because it won’t show, but if you would like to make sure you do it now). Decide where you want to place it on the wreath and use your hot glue gun to adhere it to the ribbon. These letters are really lightweight, and the ribbon is pretty heavy duty, so there shouldn’t be any sagging issues. (Again, no hot glue gun, so I tied mine on with a ribbon. Can you tell that I was determined to get this thing done?!)
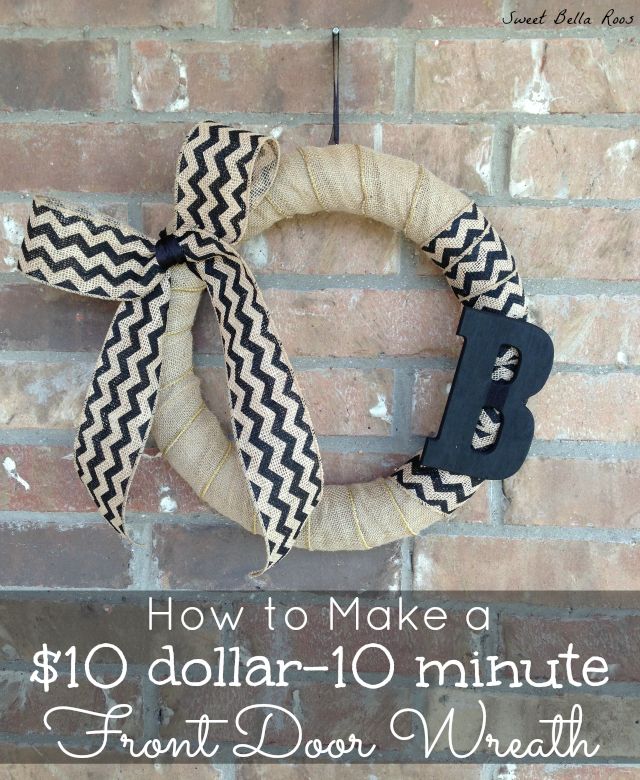
Tie a bow out of the excess ribbon and glue (or tie) it to the opposite side of the wreath from the letter. Cut the tails to your desired length, I chose to leave mine a little long to show off more of the chevron pattern.
Voila! A fun, new wreath to freshen up your front door for under $10 in less than 10 minutes!


I just made this wreath and it came out great! Thanks for the tutorial! Oh the chevron burlap ribbon is still sold at Walmart in other colors if you need more of it.
This is really great! I love the chevron burlap ribbon.
This is so pretty!! Pinning and going to make one for Fall!
What and adorable wreath! I absolutely love this wreath tutoria!
Janie
Ohsweetjane.com
Lovely wreath! I love the chevron ribbon!
Navy Wifey Peters @ Submarine Sunday Link Party
That’s really cute! I love that it’s totally doable too!
This is fabulous! I absolutely love that wreath 🙂